Wald Light Kit
Sunburst Kit Mojave 4S
Sunburst Kit Mojave 4S
Couldn't load pickup availability
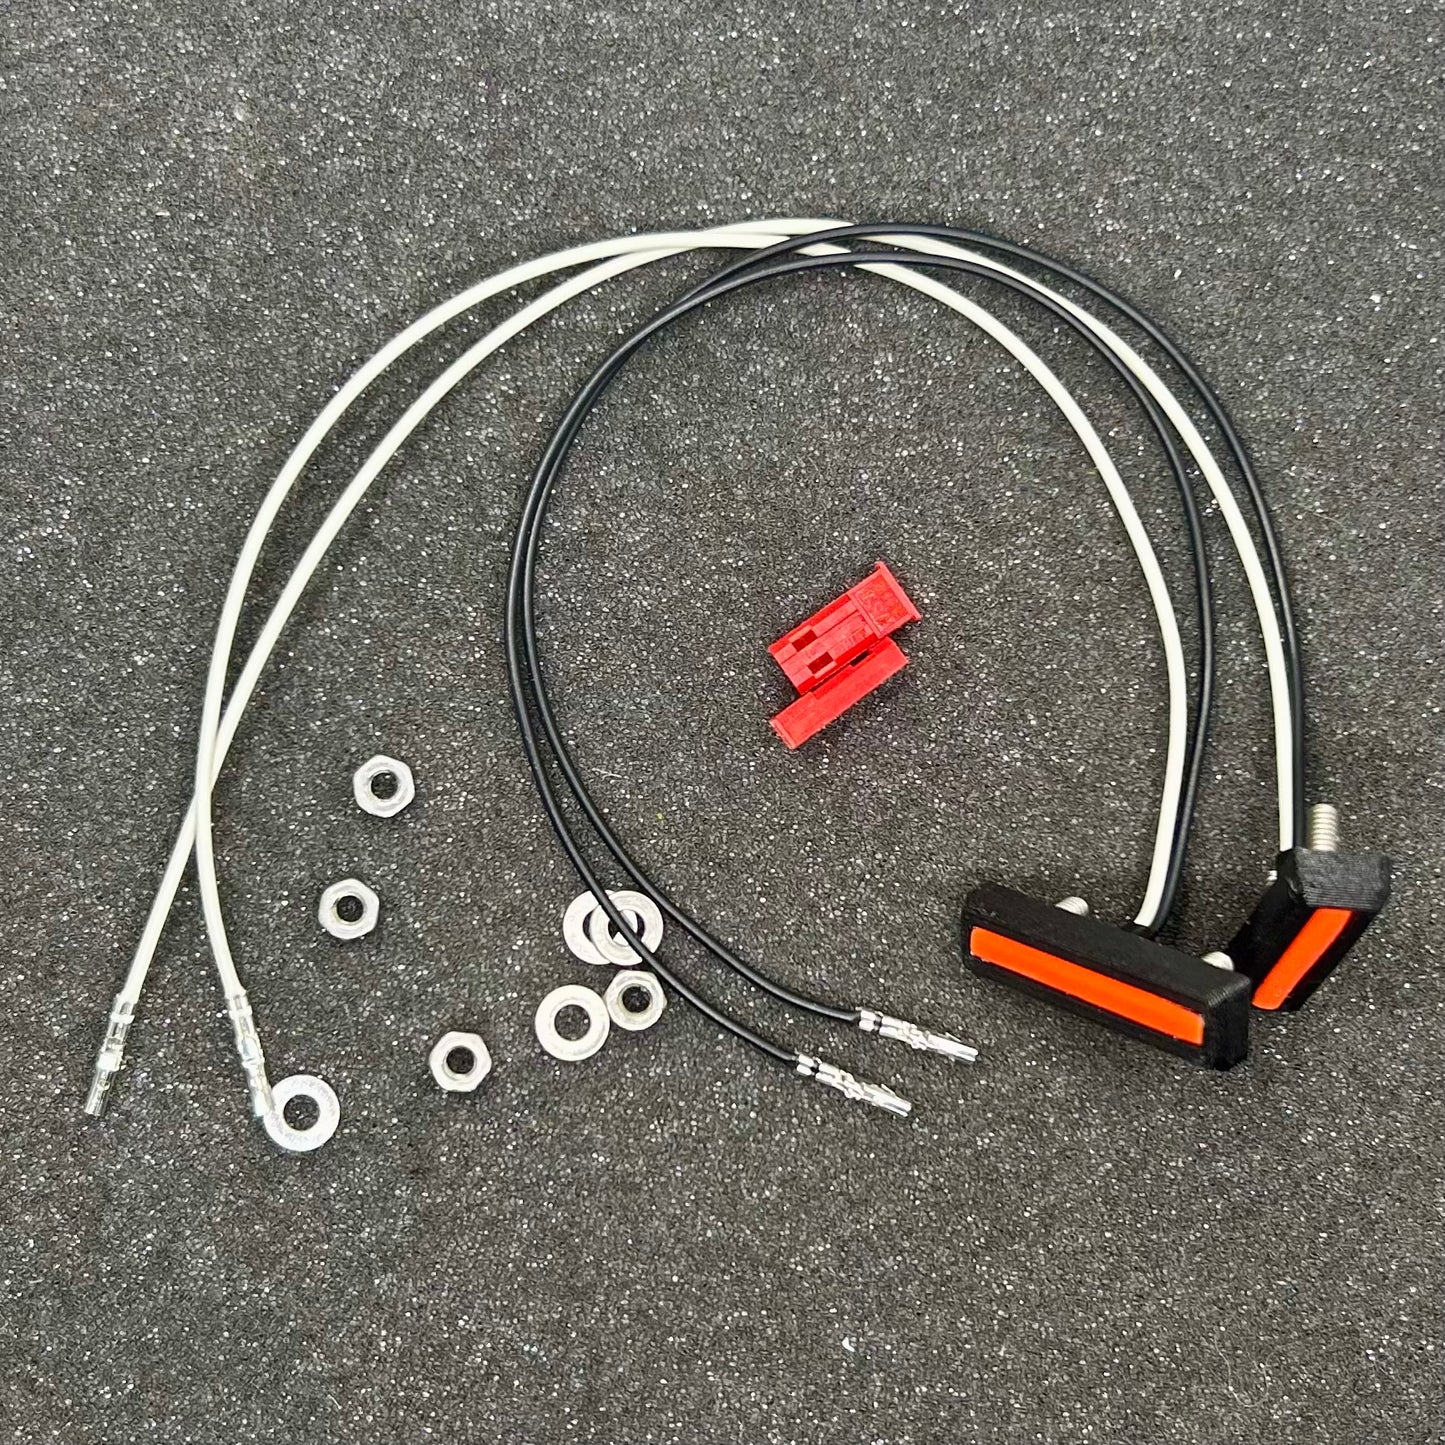
The kit includes the following components
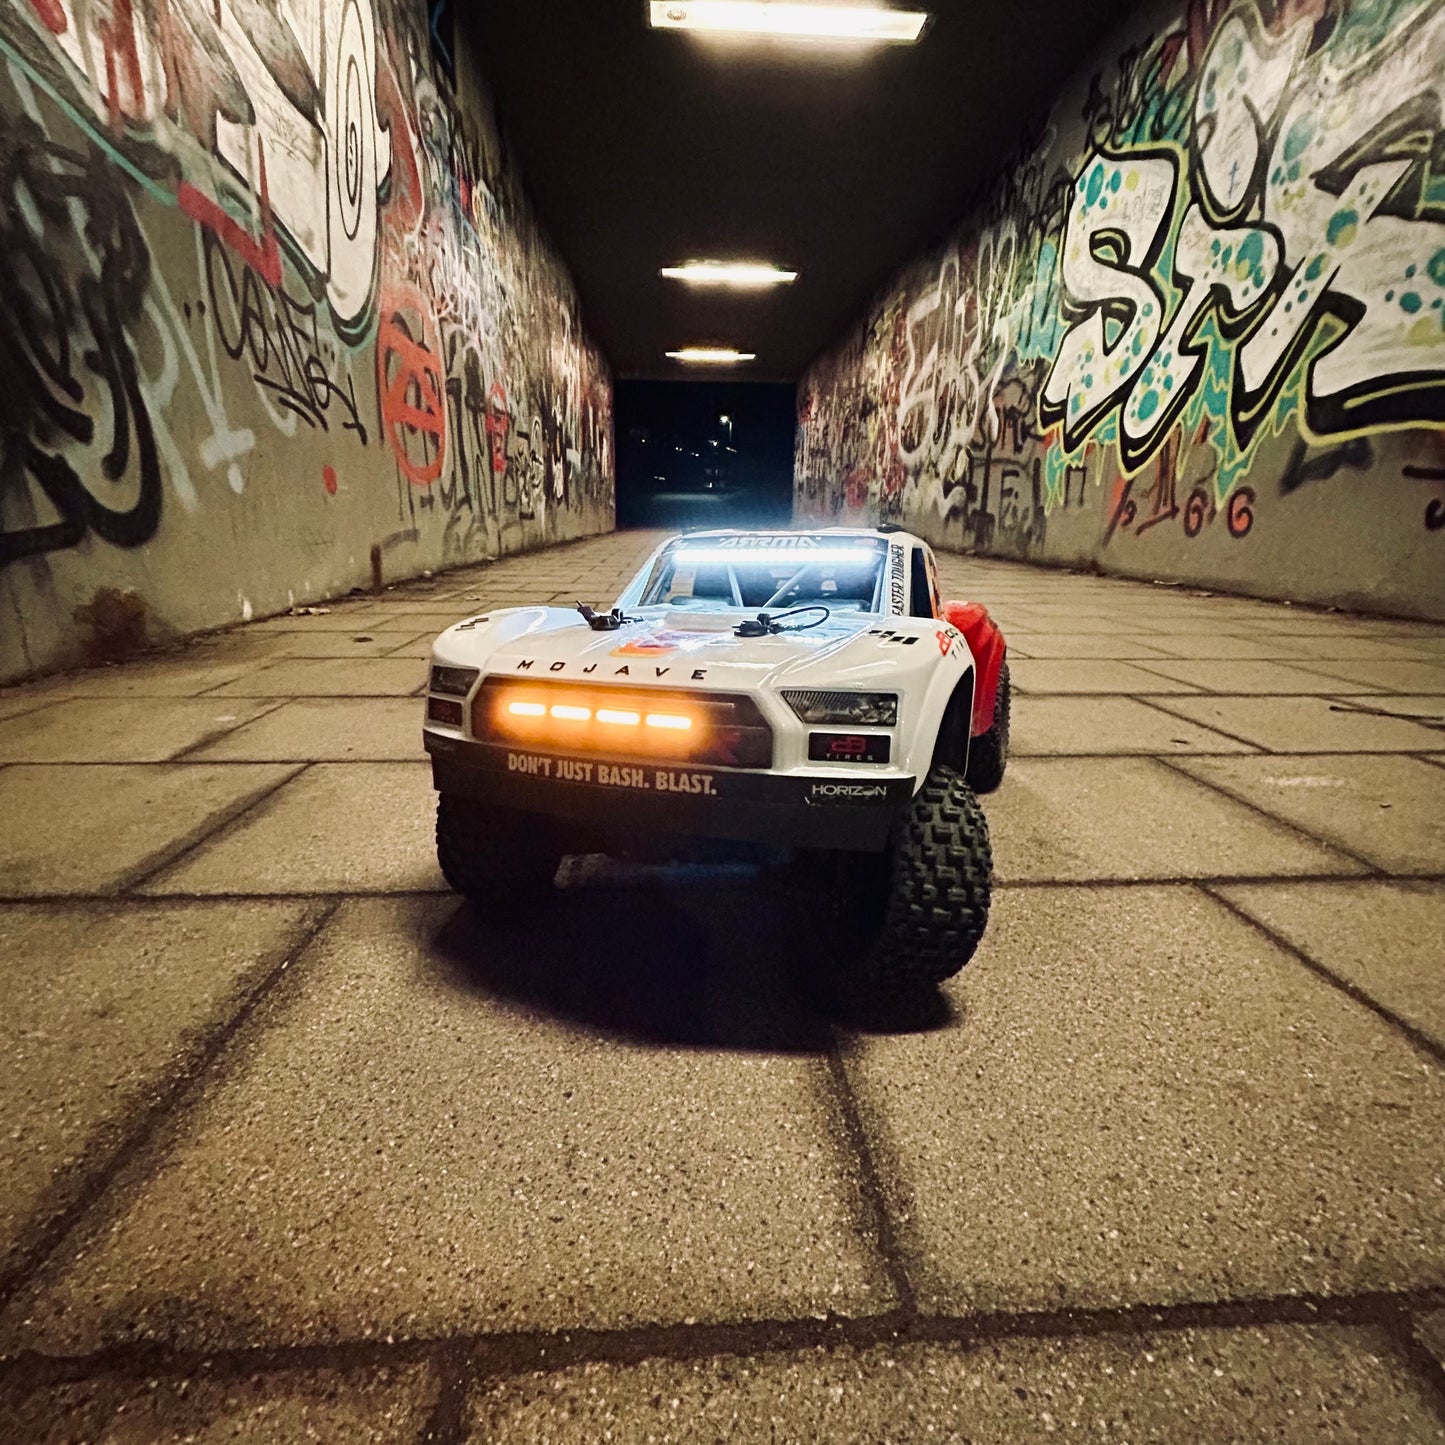
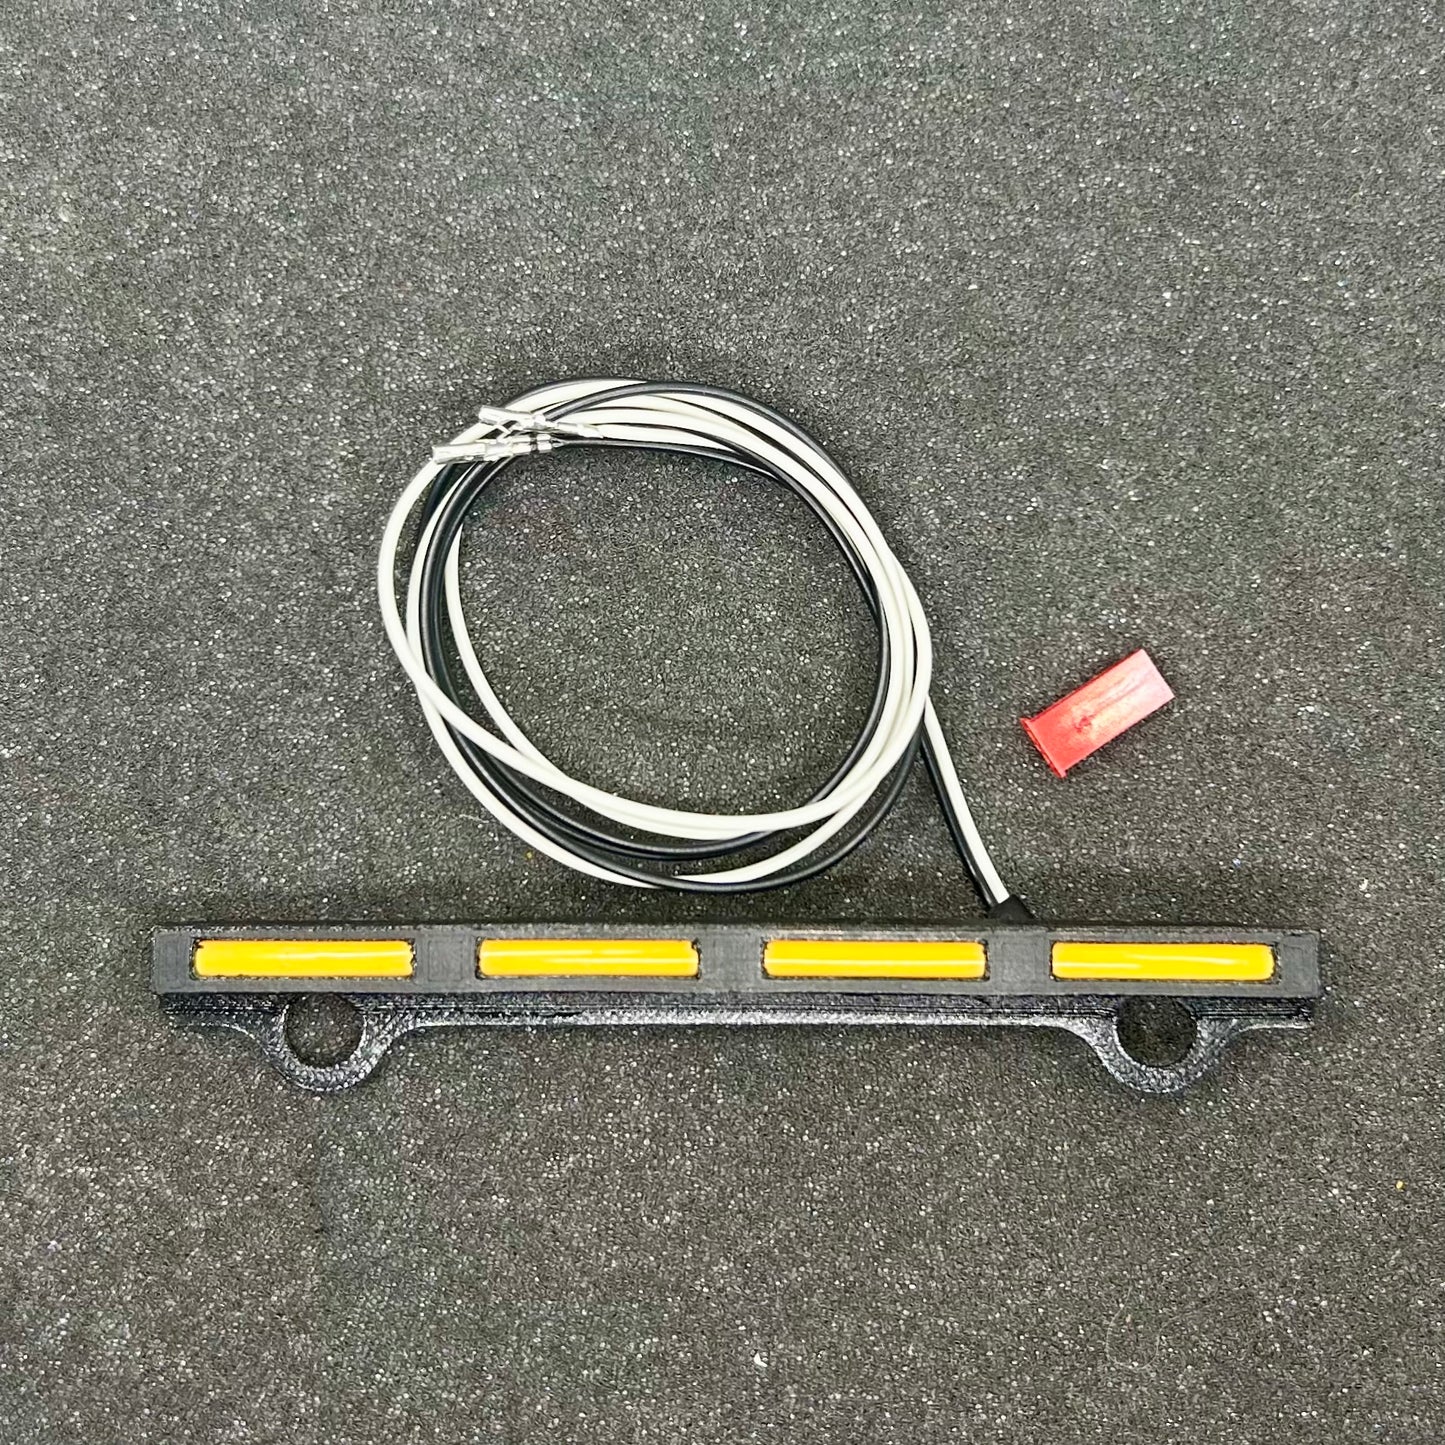
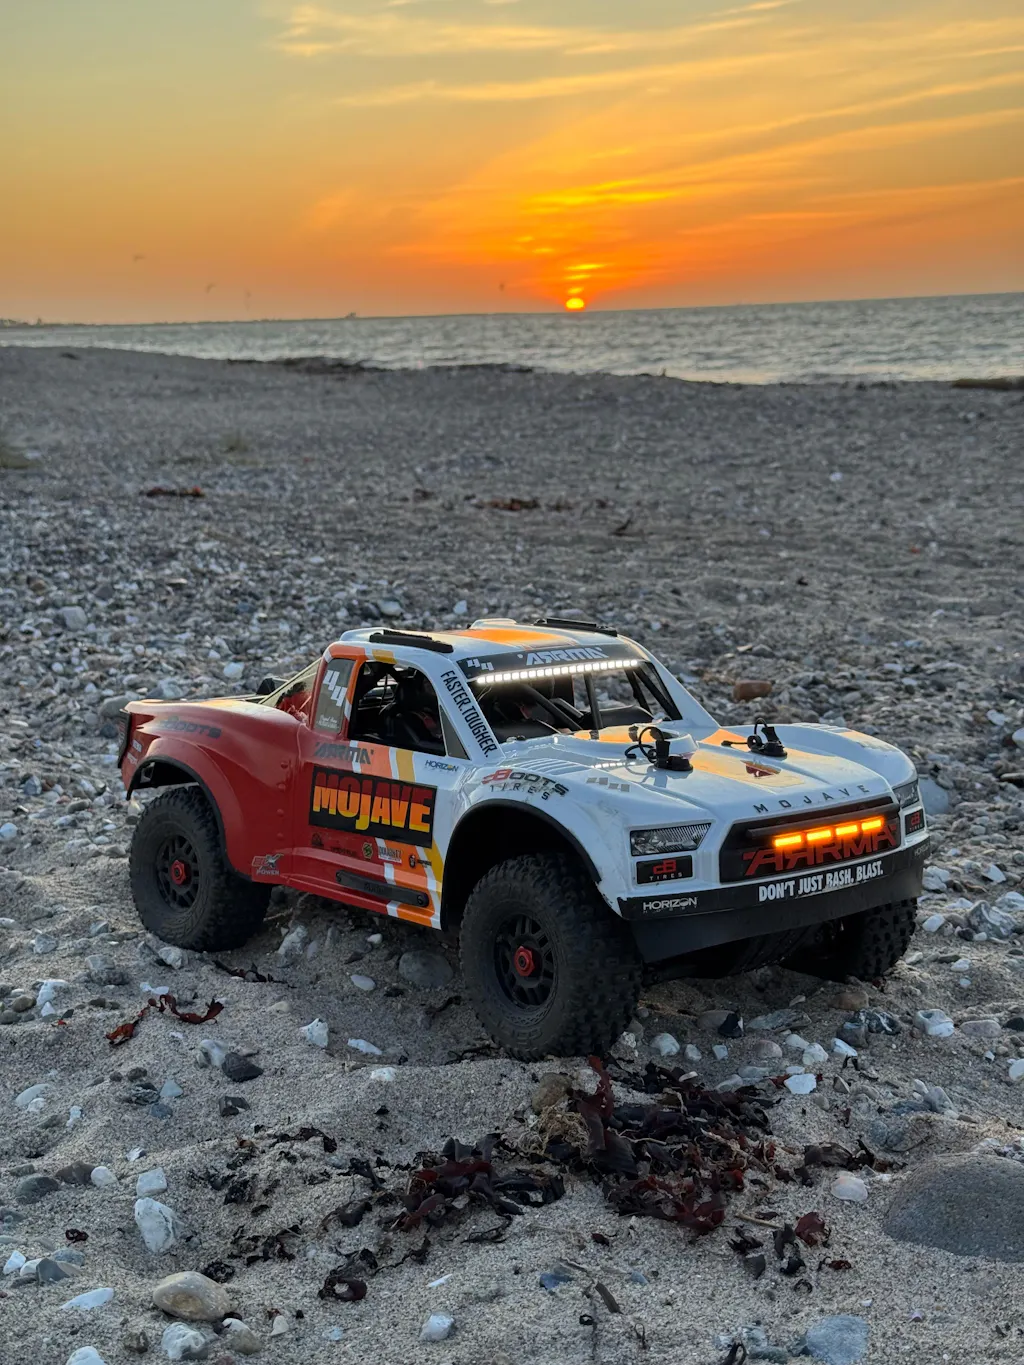
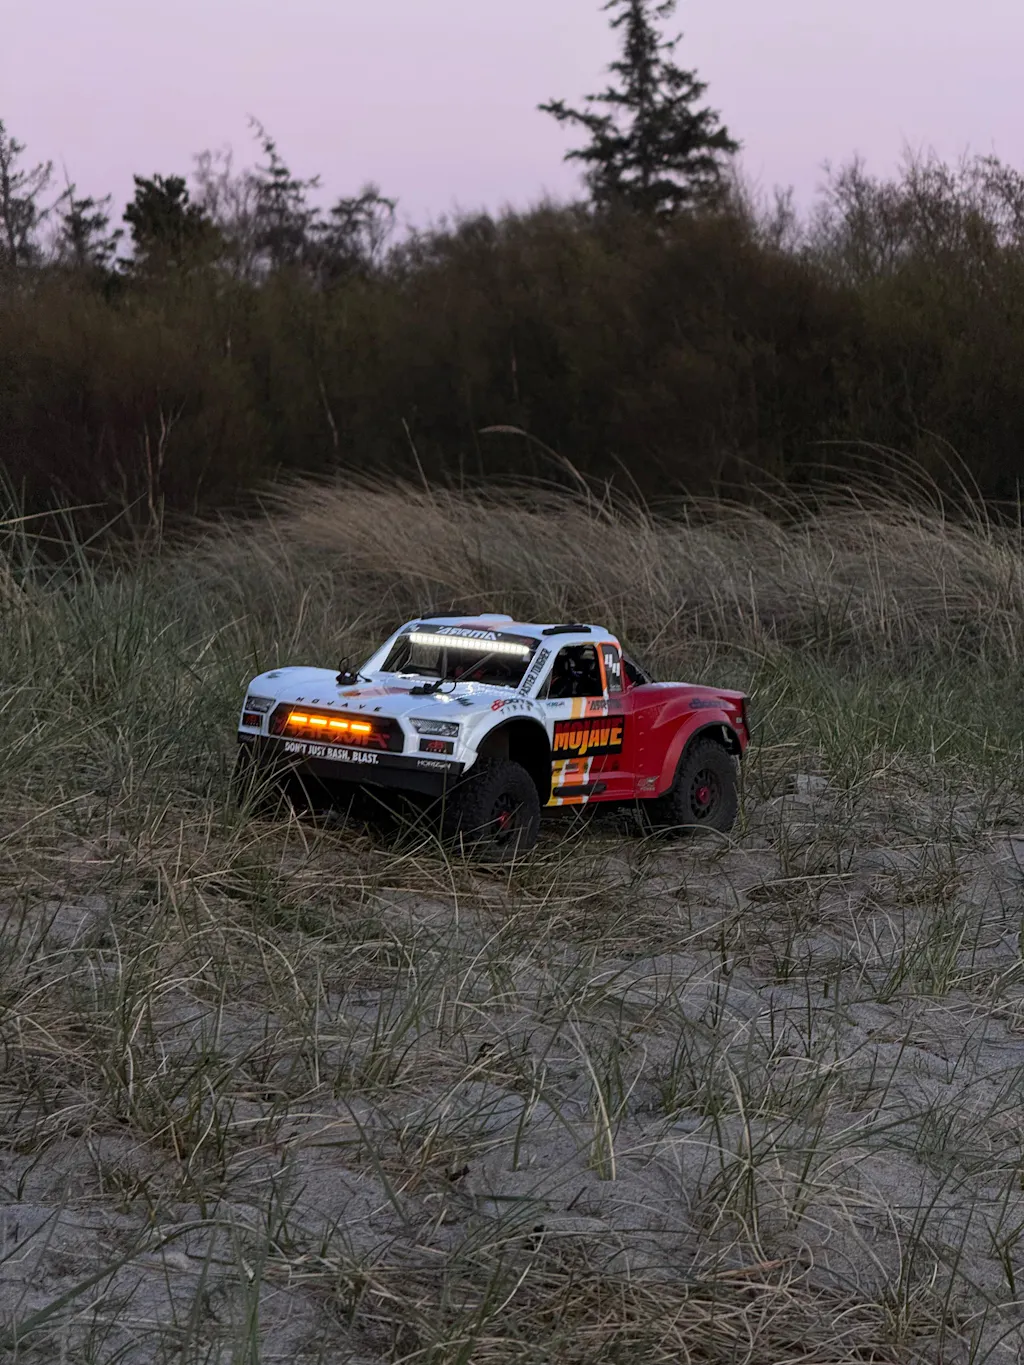
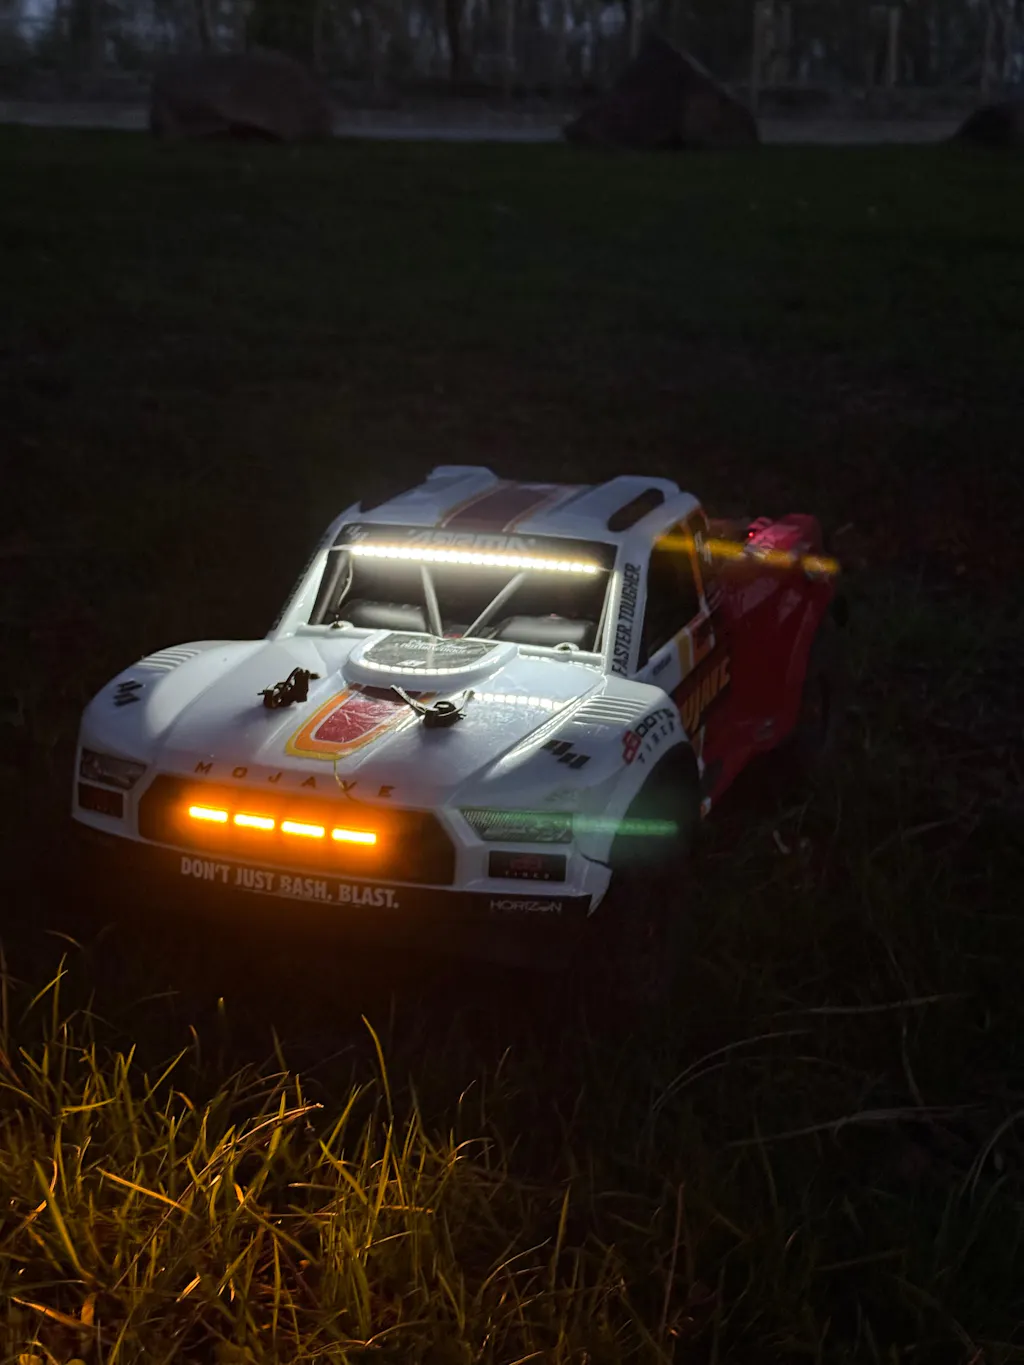
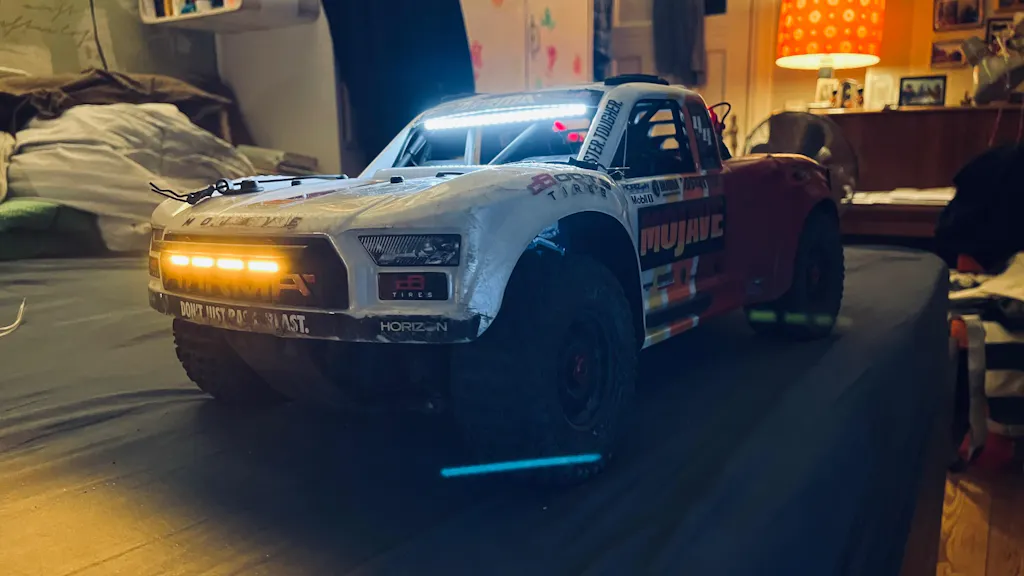
Front LED Extremely bright front LED to be attached to the front bumper.
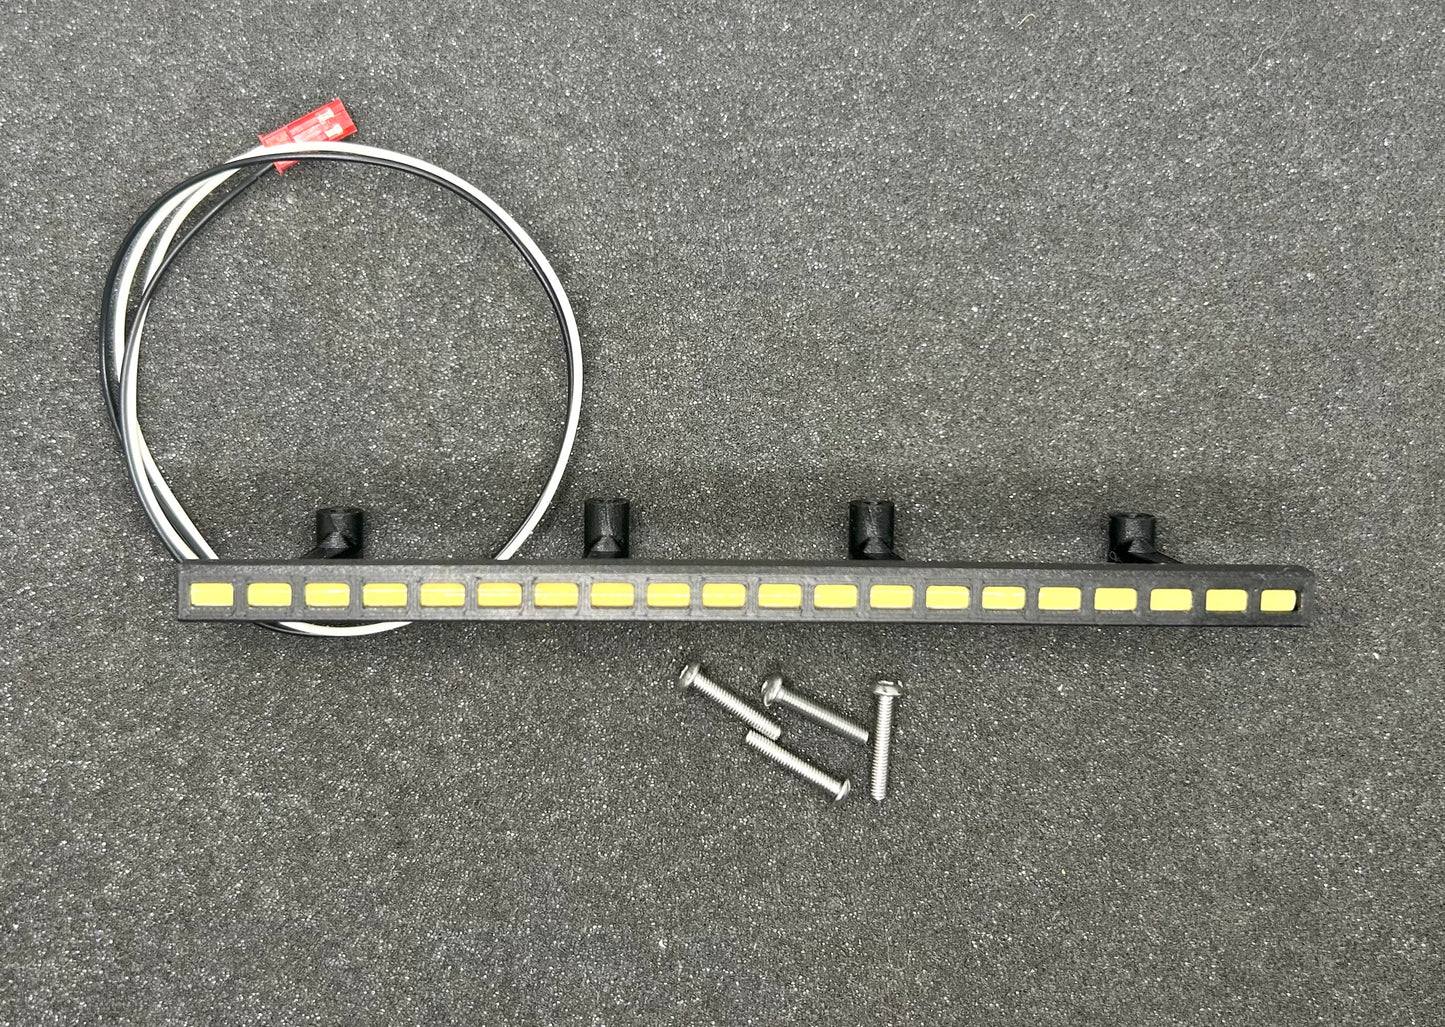
Roof LED Extremely bright front LEDs easily mounted under the roof at existing cage holes.
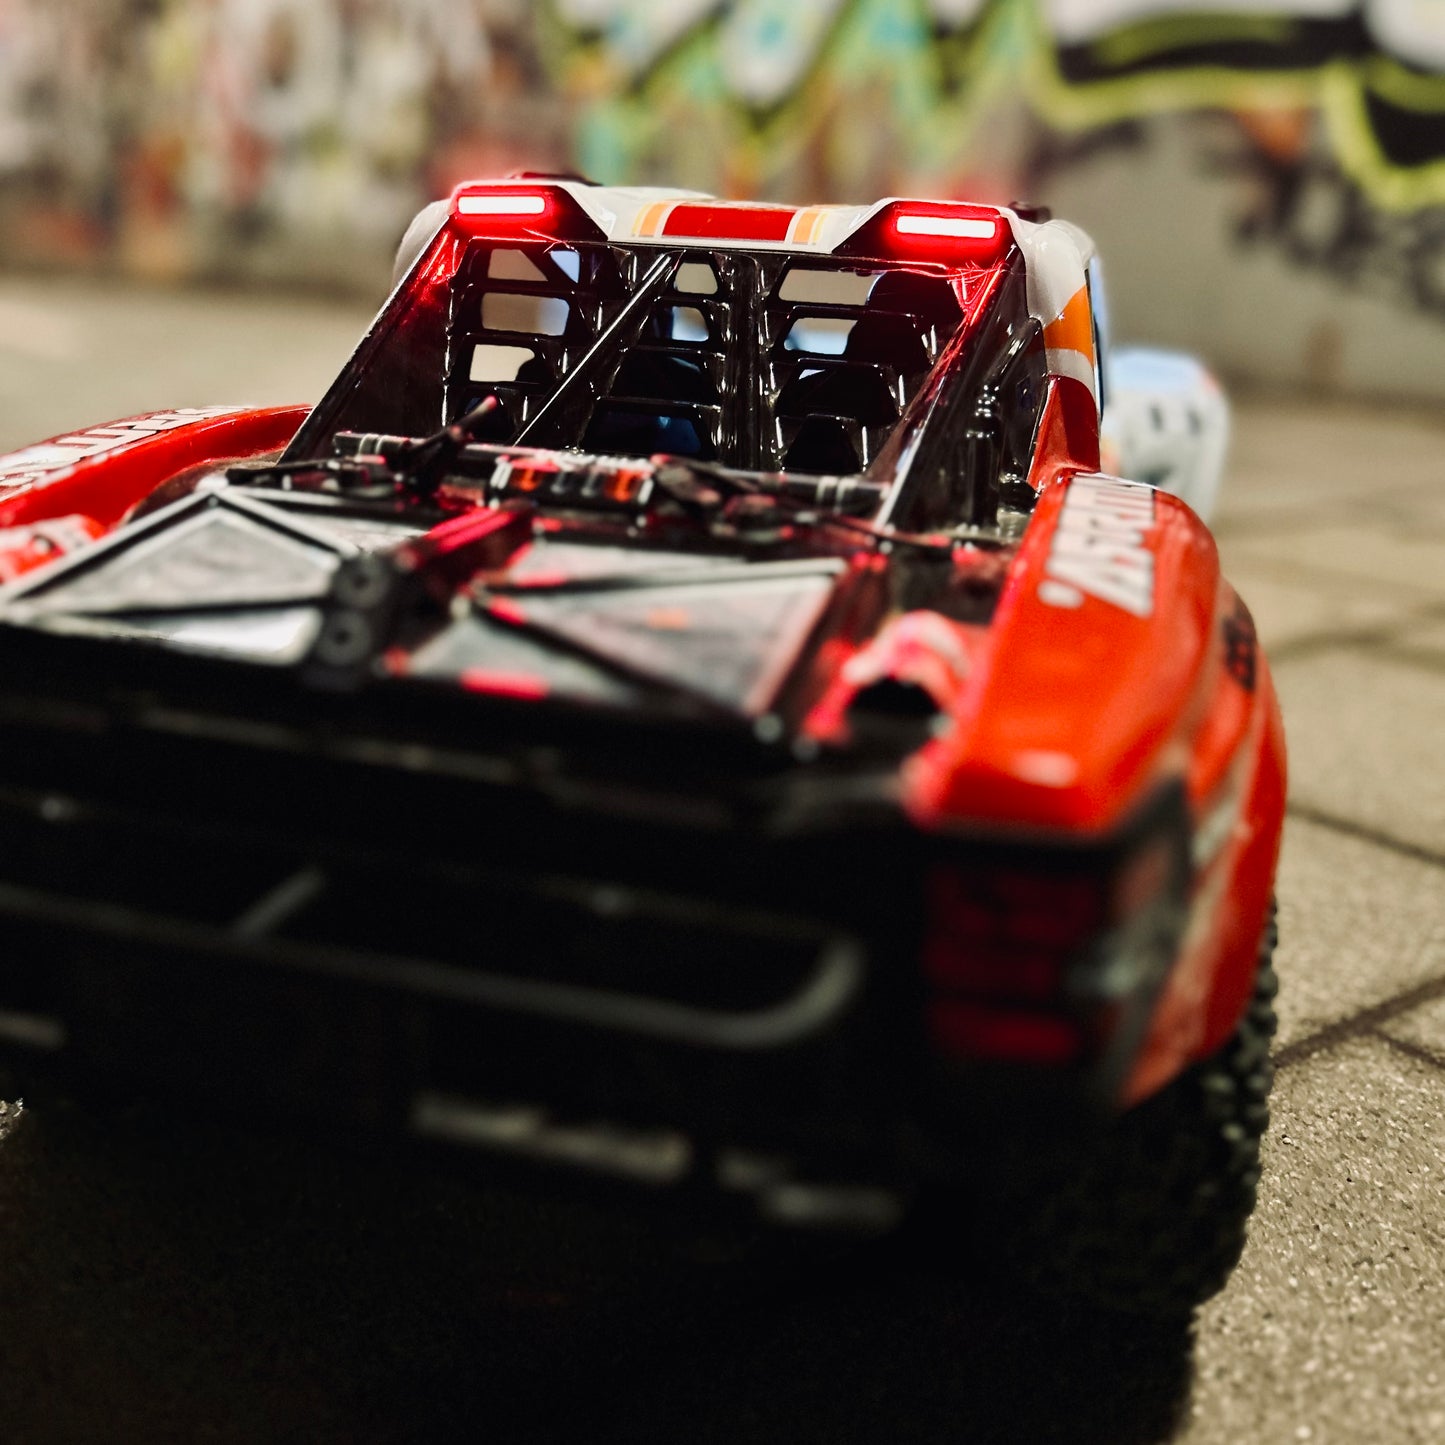
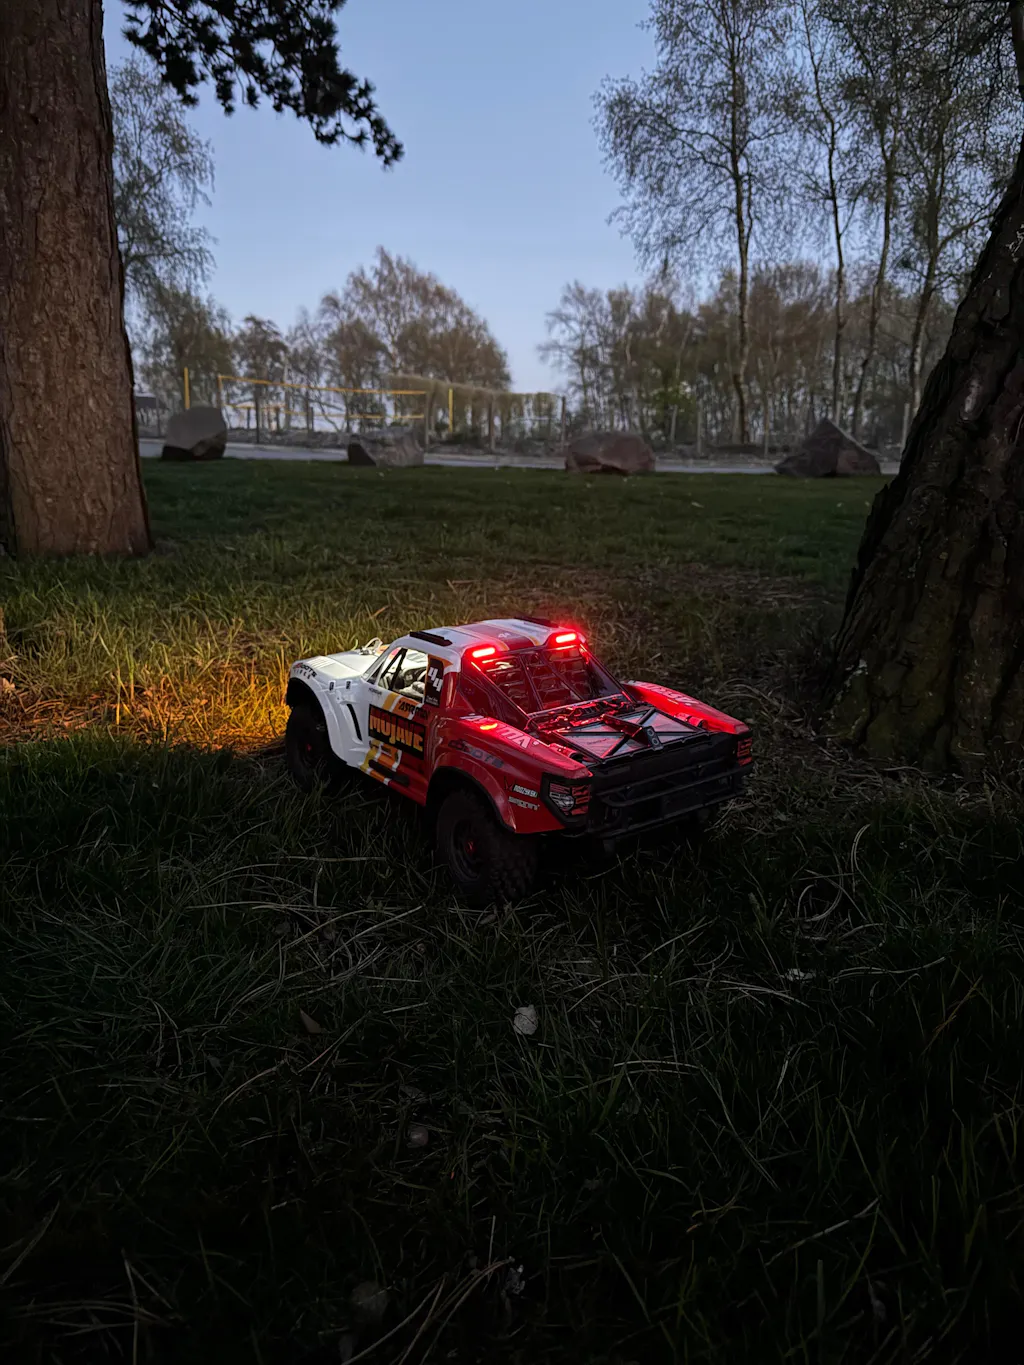
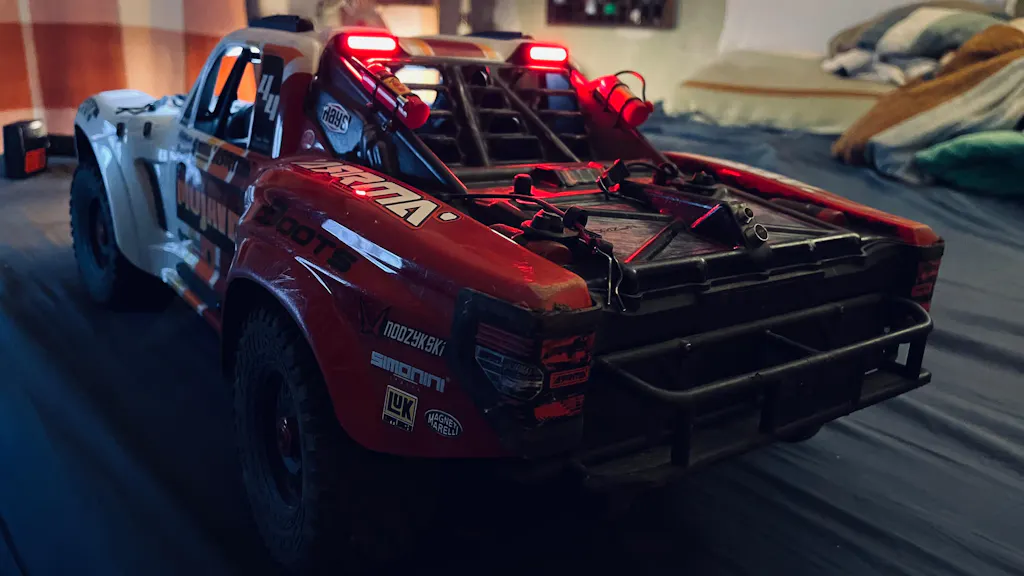
Rear LED Attach two red rear LEDs easily to the body.
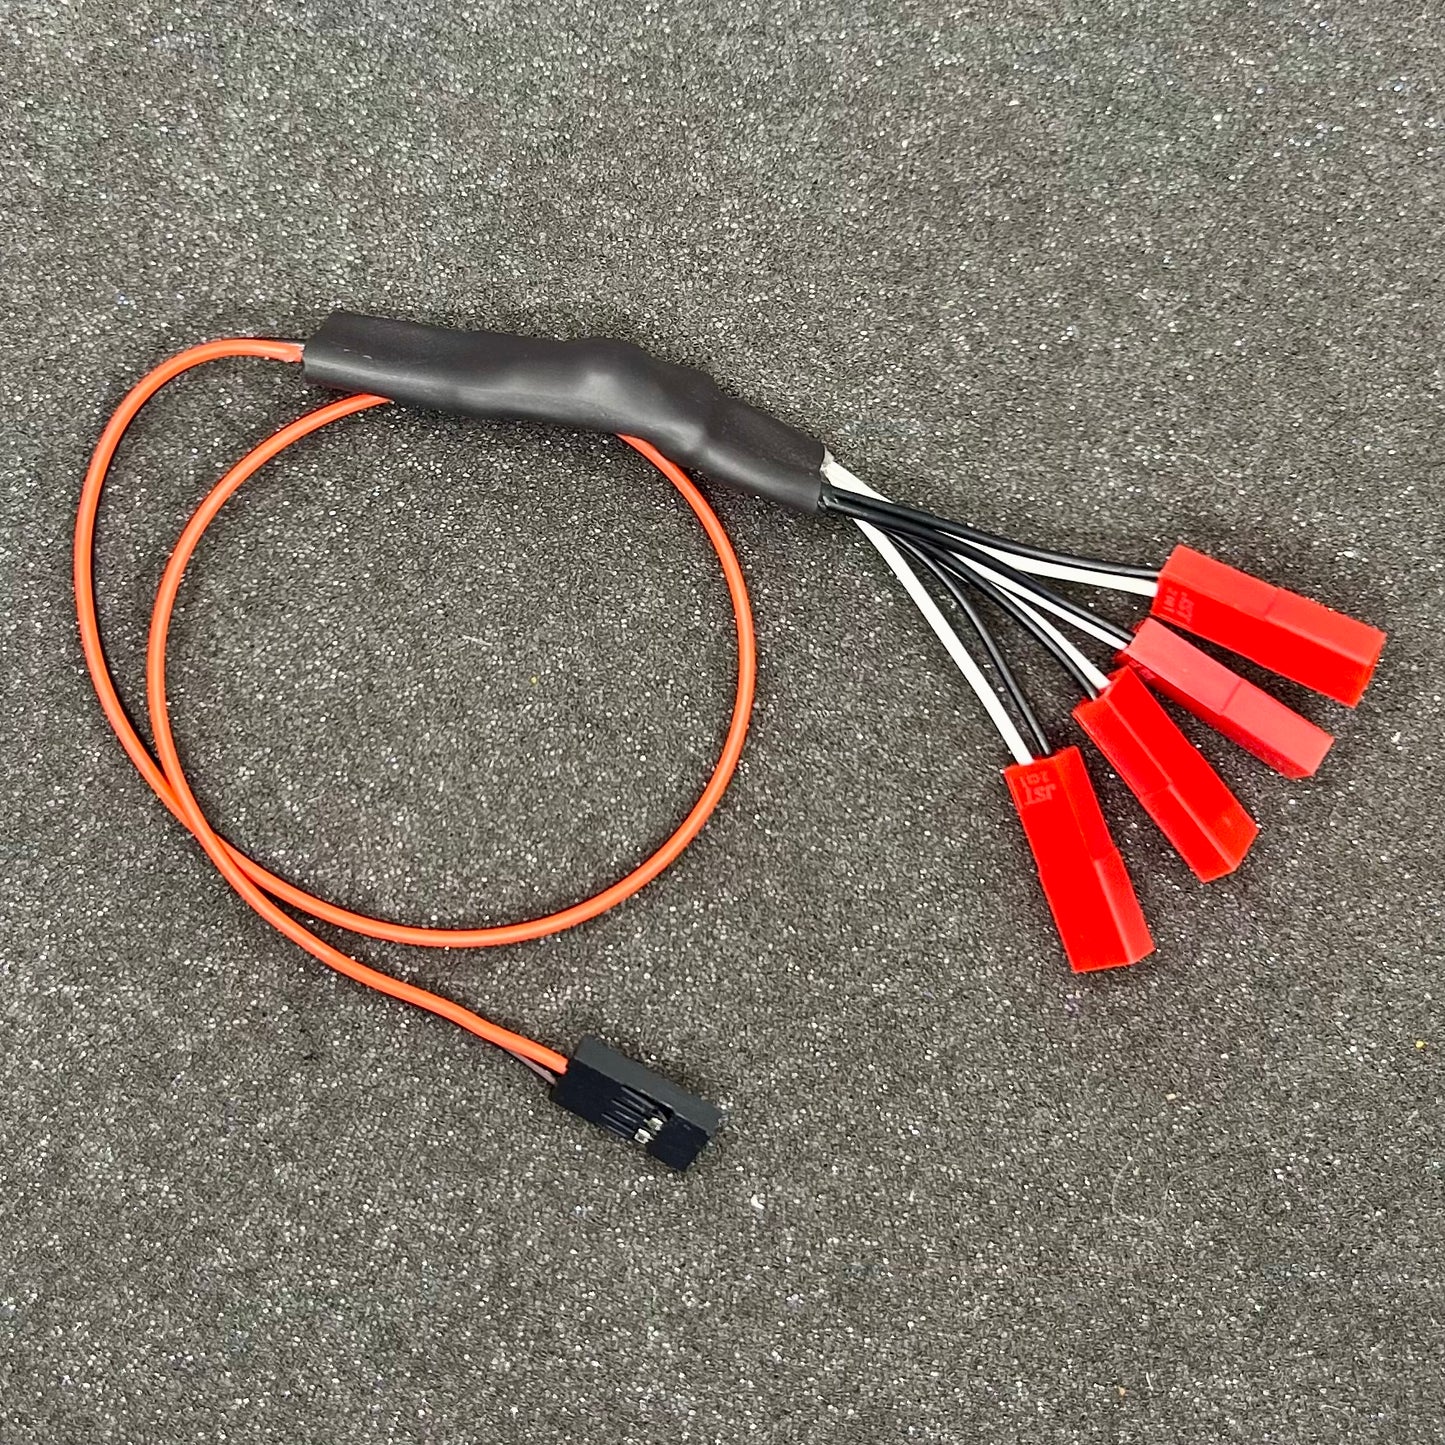
Power Up The Power Up module enables easy power supply for the LEDs through the receiver.
Attention The LEDs from the Wald Light Kit can only be operated with the Power Up module.
Installation Notes
-
Place the roof LED below the roof by turning the four included M3x16 screws from the top through the cage into the holes of the front LED. The body must be disassembled accordingly beforehand.
-
Attach the yellow front LED between the bumper and the Arrma logo by fixing the LED to the bumper holes. The bumper must be disassembled accordingly beforehand. The wires must be guided through a correspondingly large hole in the body (e.g., 3mm diameter). Pass the white and black cables through the hole and plug in the connector. The white cable in slot 1, the black cable in slot 2.
-
Attach the two taillights to the body using 4 of the included washers and nuts. The wires must be guided through a correspondingly large hole in the body (e.g., 3mm diameter). Pass the white and black cables through the hole and plug in the connector. The white cable in slot 1, the black cable in slot 2.
-
Connect the Power-Up module to the LED lights and attach it to a suitable location inside the body, e.g., with cable ties or tape.
-
Insert the included cable into the receiver. When the body is mounted, it will connect to the Power-Up module. Once the body is removed, the connection at this point will be disconnected.
-
Secure the cables of the LED lights, e.g., with cable ties, to protect them and ensure they do not come into contact with sharp edges. Make sure the cables are not under tension but always have enough slack.